Yet another reminder to self. Usual disclaimer: I’m not an expert. This procedure works for me using low-polyish URP games.
I’ll use the wolf pup from Meshtint in this example, but the procedure applies more generally. Here’s the pup:
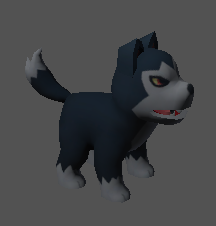
It has a skinned mesh rendered with one material: WolfPup. The material has one texture that’s about 9.6Mb. Let’s make it smaller.
The texture is 2048×2048 PSD file with RLE compression. Here’s a small version:
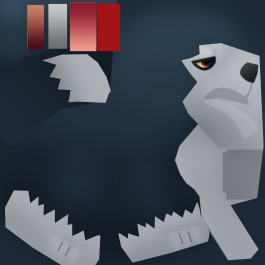
RLE works well when there are many consecutive pixels with the same value. That’s what we have here.
Let’s try reducing the size to 1024×1024. I used XnView for this. The file size decreased from 9.6 MB to approximately 0.7MB.
When importing the texture into Unity, I added crunch compression to reduce build size. I copied the Meshtint WolfPup material and used the new texture. I usually make copies of textures, materials, and prefabs, then change the copies.
Finally, I applied the new material to a copy of the WolfPup prefab. One thing I like to do is keep my eye on the prefab as I change the material, to see the effect on the GO’s look as it happens. Here’s the pup with the original material:
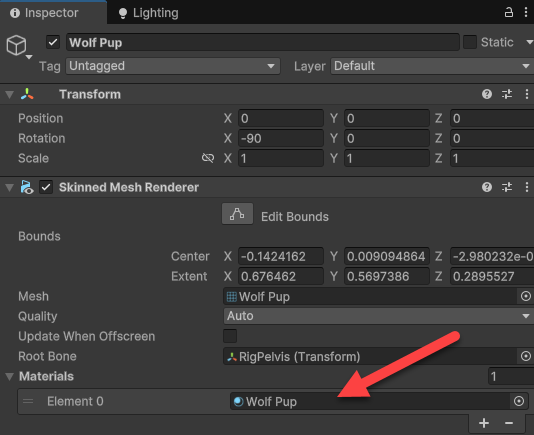
I drag the new material to that spot, but don’t let go of the mouse button. I move my eyes to the model, then let go of the mouse button.
Here’s the original with the 9.6Mb texture:
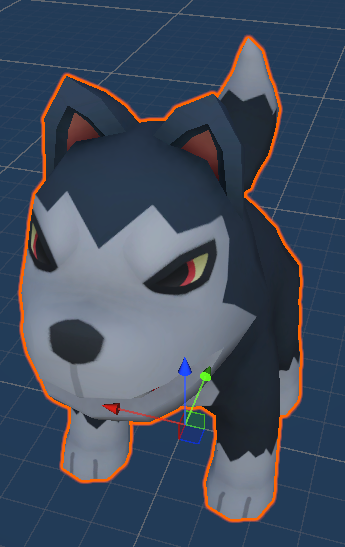
Here’s the new one with the 0.7Mb texture:
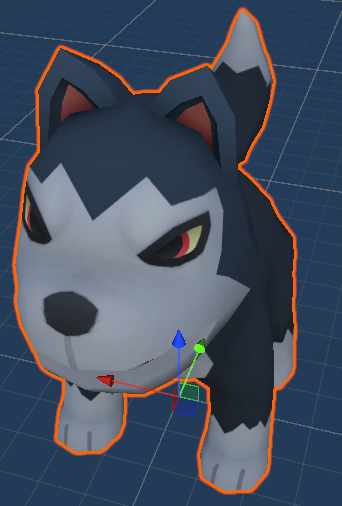
The grey shading on the snout and legs is slightly different, but for my game, it’s just as good.
This example used a PSD image, but the same thing applies to PNG and other image types. Many PNGs, like those in Tidal Flask assets I use, are 2048×2048 and not compressed. I shrink the images to 1024×1024 and add compression of about 50%.
There is a texture import setting in Unity that will shrink images automatically:
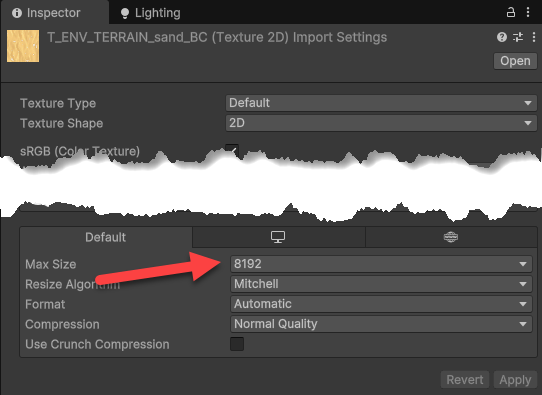
It probably works just fine, but I’m not sure.